

Have you ever watched a YouTuber share their life or experiences and thought, “I wish I could do that!”
Good news — you absolutely can. Vlogging isn’t just for celebrities or professional filmmakers anymore. With a smartphone, a bit of creativity, and a story to tell, anyone can become a vlogger like Sourav Joshi.
In this guide, we’ll walk through everything you need to know to start vlogging on YouTube — from understanding what a vlog is to editing, publishing, and even making money from your videos.
What is a Vlog?
A vlog (short for video blog) is like a digital diary in video form. It’s where you share parts of your life, knowledge, experiences, or passions through video — instead of written posts.
Vlogs can be about anything you love:
- Your daily life or behind-the-scenes moments
- Cooking, travel, fitness, or fashion
- Reviews, tutorials, or motivational talks
Think of it as storytelling with video. The more real and relatable your content feels, the more people will connect with it.
How to Get 1 Million Subscribers Like Sourav Joshi
How to Get Your First 1,000 Subscribers on YouTube in 2025 (Proven Indian Strategy)
YouTube SEO Tips for Vlogs in 2025 (The Complete Guide for Indian Creators)
What Makes a Great Vlogger?
Becoming a great vlogger isn’t just about owning a fancy camera — it’s about your personality, creativity, and consistency. Here’s what sets successful vloggers apart:
Authenticity
Viewers can tell when you’re being yourself. Don’t try to copy others — show your real self. Whether you’re funny, calm, or quirky, your authenticity will build trust with your audience.
Consistency
Post regularly. You don’t need to upload daily, but stick to a routine (like every Tuesday or every weekend). Consistency helps YouTube’s algorithm recognize your channel and keeps viewers coming back.
Engaging personality
Talk to the camera like you’re chatting with a friend. Smile, use natural expressions, and be enthusiastic about your topic — it makes viewers feel included.
Storytelling skills
Even simple topics become interesting when told as a story. Start with a hook (“Guess what happened today…”), build curiosity, and end with a satisfying or surprising conclusion.
Adaptability and innovation
Trends change fast! Be open to experimenting — maybe try YouTube Shorts, Reels, or a new thumbnail style. Adaptation keeps your content fresh and exciting.
Strong editing skills
Editing turns raw clips into engaging stories. Add music, transitions, or captions to make your videos flow smoothly. Don’t worry — you’ll improve with practice.
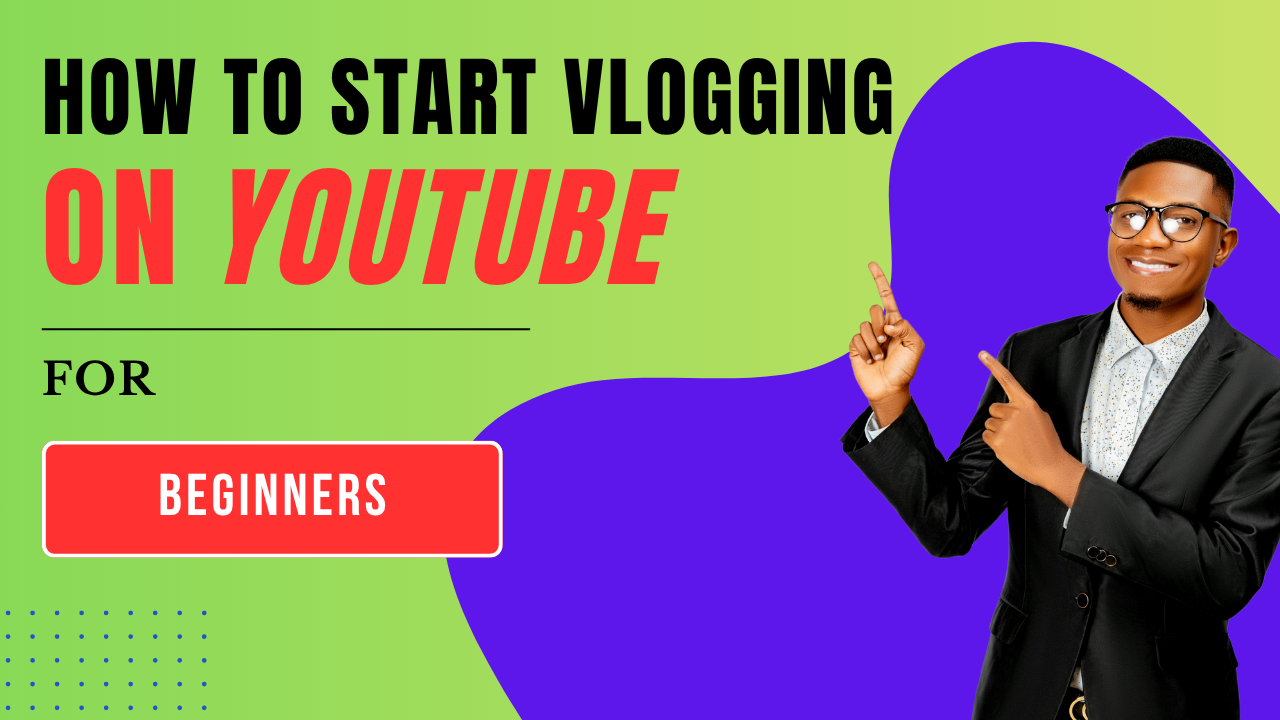
How to Start a Vlog in 10 Steps
Here’s your beginner-friendly roadmap to start vlogging on YouTube — from idea to upload.
Step 1: Choose your niche and audience
Pick a topic you genuinely love — something you can talk about for hours without getting bored. Maybe it’s cooking, tech gadgets, or daily life.
Think: Who will watch this? Families, students, foodies, or travelers?
Example: “Twinkle’s Desi Kitchen” focuses on simple vegetarian recipes for Indian households — that’s a clear niche.
Step 2: Plan your content
Make a list of vlog ideas. Sketch a simple format like:
- Hook (grab attention)
- Main story or information
- Ending with call-to-action (like “Subscribe!” or “Try this at home!”)
Example:
For a cooking vlog:
Intro – “Today I’ll show you how to make crispy aloo tikki in just 10 minutes.”
Body – Step-by-step cooking process.
Outro – “If you loved this recipe, hit like and subscribe for more!”
Step 3: Create your YouTube channel
Go to YouTube, sign in, and create your channel.
Add:
- Profile photo and banner (bright, welcoming)
- Channel description (tell people what your videos are about)
- Links to your Instagram or blog
Step 4: Get your basic gear
You don’t need expensive equipment. Start with what you have!
- Camera: Smartphone with a good camera (1080p or higher)
- Tripod: Keeps shots steady (start with a basic ₹500 one)
- Microphone: Clear sound matters — try a clip mic like BOYA BY-M1
- Lighting: Natural light works best. Face a window while filming.
When you’re ready, you can upgrade to cameras like Canon M50, Sony ZV-1, or GoPro Hero.
Step 5: Film with intention
Before hitting record, ask: What’s the story here?
Keep shots steady, check lighting, and speak clearly.
Record extra clips (B-roll) — like close-ups of food, travel shots, or behind-the-scenes moments — these make your vlog cinematic.
Step 6: Edit your vlog
Editing is where your video comes alive.
Beginner tools:
- CapCut or InShot (mobile-friendly)
- DaVinci Resolve (free, desktop)
- Adobe Premiere Pro (advanced)
Editing tips:
- Keep your intro under 15 seconds
- Cut unnecessary pauses
- Add music and captions
- Use B-roll to cover cuts or show details
Step 7: Optimize for YouTube (SEO)
YouTube is a search engine — help people find you!
- Use keywords in your title: “How to Start Vlogging on YouTube (Beginner’s Guide)”
- Write a detailed description with timestamps and links
- Add tags like vlogging for beginners, start a vlog, YouTube guide
- Create an eye-catching thumbnail using free tools like Canva
Step 8: Upload and promote
Click “Upload Video” → Add your file → Fill in all details → Hit Publish!
Then, share your video on:
- Instagram Reels
- Facebook Groups
- WhatsApp status or community pages
Early promotion helps YouTube notice engagement and push your video to more people.
Step 9: Analyze and improve
Go to YouTube Studio → Analytics to track:
- Watch time
- Average view duration
- Audience retention
If people drop off early, tweak your intro or pacing. Analytics are your best teacher.
Step 10: Build your community
Reply to comments, ask questions in your videos, and encourage feedback.
Collaborate with small creators in your niche.
Remember — YouTube is not just about views; it’s about connections.
The Best 7 Vlog Platforms
While YouTube is the king of vlogging, it’s not the only platform. Here are the top 7 places to share your vlogs:
- YouTube – Best for long-form videos, monetization, and discovery.
- TikTok – Great for short, fun, and viral clips.
- Instagram Reels – Perfect for visual storytelling and connecting with followers.
- Facebook – Share vlogs in groups and reach local audiences.
- Twitch – Great for live vlogging and gaming-related content.
- Vimeo – Professional platform for creative portfolios.
- Snapchat – Ideal for behind-the-scenes and daily life updates.
Pro tip: Use one main platform (like YouTube) and repurpose your clips for Reels or TikTok.
How to Monetize Your Vlog
Once you’ve built a small, loyal audience, you can start earning money!
1. YouTube Partner Program (Ads)
Apply once you have 1,000 subscribers and 4,000 watch hours in the past 12 months. You’ll earn from ads shown on your videos.
2. Channel memberships & Super Chat
Fans can pay a small monthly fee to access exclusive content or badges. During live streams, they can send paid messages (Super Chat).
3. Sponsorships
Collaborate with brands that align with your niche — like kitchenware for cooking vloggers or travel gear for travelers.
4. Affiliate marketing
Promote products you use and share purchase links (Amazon Associates, Flipkart Affiliate, etc.). You earn a small commission on each sale.
5. Sell your own products
Once your brand grows, create your own merch, ebooks, or online courses to diversify income.
Edit Your Vlog Videos Like a Pro
Editing doesn’t have to be scary — just follow a few golden rules.
Structure your edits
Start strong → keep it tight → end with impact.
Cut out dull moments, add transitions, and use subtitles for clarity.
Use B-roll creatively
B-roll (extra footage) keeps your audience visually engaged. For example, if you’re talking about “making tea,” show the pouring, steam, and close-up shots.
Focus on sound
Bad audio can ruin a good video. Use background music wisely — soft and non-distracting. Adjust volume so your voice stays clear.
Add branding touches
Use consistent intro music or a logo animation to build recognition.
Recommended tools
- Beginner: CapCut, VN Editor, iMovie
- Intermediate: DaVinci Resolve, Filmora
- Advanced: Premiere Pro, Final Cut Pro
Final Thoughts
Starting a vlog might feel overwhelming, but remember — every big YouTuber once uploaded their first awkward video.
You’ll get better with each upload. Focus on learning, connecting, and having fun with your audience.
So grab your phone, hit record, and tell your story. The world is waiting to see it!


