

If the thought of talking to a camera in front of strangers makes you nervous, you’re far from alone. Almost every creator—whether they’re uploading to YouTube, Instagram, or TikTok—has felt that same hesitation at some point.
The good news is that confidence doesn’t come before public vlogging; it comes because of it. Like any skill, being comfortable on camera develops through practice, not personality. The first few attempts may feel awkward, but with the right approach, that feeling fades much faster than most beginners expect.
In this guide, you’ll learn practical, beginner-friendly strategies to help you vlog in public with confidence. Whether you’re filming your first travel vlog, documenting your day, or creating content for your YouTube channel, these tips will help you focus less on the people around you and more on telling a great story.
Why Does Vlogging in Public Feel So Awkward?
Feeling self-conscious is a natural response. When you point a camera at yourself, it can seem like everyone is watching—even when they aren’t.
Psychologists often refer to this as the spotlight effect, the tendency to overestimate how much other people notice us. In reality, most people are focused on their own conversations, phones, or daily routines. Someone might glance at you for a second simply because something unusual caught their attention, then immediately move on.
Understanding this mental bias can make it easier to stop worrying about passing strangers and concentrate on creating content.
Step 1: Fix Your Mindset Before You Press Record
The biggest obstacle usually isn’t your camera—it’s your mindset.
Instead of expecting confidence from day one, expect the experience to feel unfamiliar. There’s an important difference between something feeling awkward and something being wrong. Public vlogging simply feels new, and your brain interprets unfamiliar situations as uncomfortable.
Even successful creators have admitted that their first public recordings felt strange.
Focus on Your Purpose
Ask yourself why you’re filming.
Maybe you want to:
- Grow a YouTube channel
- Build a personal brand
- Create a travel diary
- Land freelance video clients
- Improve your presentation skills
When your attention shifts toward your long-term goal instead of strangers’ opinions, the discomfort becomes much easier to accept.
Use a Simple Mental Script
Before hitting record, repeat something like:
“I’m filming for ten minutes. Some people may look, and that’s okay. Every video improves my skills and helps me reach my goal.”
This small habit keeps your attention on what matters instead of imagined judgment.
Step 2: Build Confidence in Stages
Nobody starts by confidently filming in the busiest street in the city.
Treat public vlogging like progressive training. Each step prepares you for the next.
Stage 1: Practice at Home
Get comfortable speaking naturally to your camera without worrying about lighting, editing, or perfection.
Aim for five to ten minutes each day.
Practice:
- Introducing yourself
- Explaining what you’re doing
- Reviewing products
- Telling short stories
- Describing your surroundings
The goal isn’t producing content—it’s making talking to a lens feel normal.
Stage 2: Move to Low-Pressure Locations
Once home recording feels easy, move outside.
Good beginner locations include:
- Quiet neighborhood streets
- Empty parks
- Rooftops
- Less crowded metro platforms
- Early morning markets
These places let you experience public filming without attracting much attention.
Stage 3: Gradually Increase the Challenge
Once you’re comfortable, slowly work toward busier places like:
- Shopping malls
- Tourist attractions
- Popular cafés
- Local markets
- City centers
Think of confidence like building muscle.
Progression might look like:
Home → Quiet street → Park → Weekday mall → Busy weekend market
Small improvements are much more sustainable than forcing yourself into overwhelming situations.
Step 3: Use Gear That Doesn’t Draw Attention
Your equipment can influence how confident you feel.
Many beginners assume they need expensive professional gear, but that’s often the opposite of what’s helpful.
Start With Your Smartphone
Using your phone has several advantages.
People see smartphones everywhere.
Most assume you’re:
- Recording a Reel
- Video calling
- Taking photos
- Creating social media content
Because smartphones are common, they naturally attract less attention than large cameras.
If You Use a Camera, Keep It Compact
Small mirrorless cameras paired with a simple grip or mini tripod generally feel less intimidating than a large DSLR loaded with accessories.
A lightweight setup is also easier to carry throughout the day.
Choose a Small Microphone
Instead of using a large shotgun microphone, consider:
- Clip-on microphones
- Compact wireless microphones
- Small lavalier microphones
Clear audio means you won’t need to raise your voice, helping you stay relaxed while recording.
A subtle setup also makes filming feel more natural.
Step 4: Don’t Memorize a Script—Know Your First Line
Trying to memorize an entire script usually makes beginners sound robotic.
Instead, organize your thoughts around three simple parts:
- Hook
- Main content
- Closing
This keeps your delivery natural while preventing long pauses.
Memorize Only the Beginning
Knowing your opening sentence removes the hardest part—getting started.
Once you’re speaking, you’ll usually stop thinking about everyone around you.
For example:
“Today I’m seeing how much content I can create in just one hour inside this mall.”
That’s enough to get momentum.
Keep Each Clip Short
Rather than recording for several minutes continuously, break your vlog into small segments.
Record:
- 10–20 seconds
- Pause
- Walk to another location
- Record again
This approach has several benefits:
- Less pressure
- Easier editing
- More engaging pacing
- Multiple chances to improve
Example Mall Vlog Structure
Opening
“Today I’m testing how much useful content I can film in one hour.”
Middle
“First stop is the gaming section. Let’s see what budget laptops are available.”
Closing
“Here’s what stood out and what I’d actually recommend.”
Simple, conversational clips almost always feel more authentic than heavily scripted monologues.
Step 5: Reduce Social Anxiety While Filming
Even after practice, nervous moments can happen.
The key isn’t eliminating anxiety—it’s preventing it from stopping you.
Imagine Talking to One Friend
Instead of thinking you’re addressing hundreds of strangers, picture one close friend standing behind the camera.
This changes your tone naturally.
You’ll sound more relaxed and conversational.
Keep Walking
Standing still often makes people feel like they’re on display.
Walking while talking helps because:
- Your focus shifts to movement.
- The background changes naturally.
- You spend less time worrying about who’s watching.
Walking shots also create more dynamic footage.
If Someone Looks at You
Most people will simply glance and continue walking.
If someone seems curious:
Smile.
Nod politely.
Continue filming.
If they ask what you’re doing, a simple answer works:
“I’m recording a vlog.”
Most conversations end there.
Sometimes curiosity even leads to friendly interactions that make your content more engaging.
Take Short Breaks
If anxiety suddenly increases, stop recording.
Walk for thirty to sixty seconds.
Take a drink of water.
Reset.
Then continue.
Professional creators regularly record multiple takes, so don’t mistake restarting for failure.
Step 6: Turn Confidence Into a Game
One of the fastest ways to become comfortable is by setting small challenges.
Instead of measuring success by views or subscribers, measure it by actions you complete.
Examples include:
- Record three public clips today.
- Speak to the camera for one minute.
- Film one introduction in a park.
- Record inside a shopping mall.
Each completed challenge builds confidence.
Track Your Progress
Keep a simple note on your phone.
Include:
| Date | Location | What You Recorded |
|---|---|---|
| Monday | Home | Five-minute practice |
| Tuesday | Street | Three walking clips |
| Wednesday | Park | One talking segment |
| Thursday | Mall | Introduction clip |
Looking back after a few weeks makes your progress obvious.
Fear becomes much smaller when you can see measurable improvement.
A One-Week Beginner Challenge
Days 1–2
Practice speaking to your camera at home for five minutes.
Days 3–4
Record three short clips on your street or rooftop.
Days 5–6
Film in a nearby park or local market during quieter hours.
Day 7
Record one short talking clip in a busier location such as a shopping mall or popular public area.
This gradual approach keeps your confidence growing without becoming overwhelming.
Step 7: Know How to Handle People and Permissions
Public spaces come with responsibilities.
Being respectful helps you avoid unnecessary problems.
Respect People’s Privacy
If someone appears uncomfortable being filmed:
- Stop recording.
- Reframe the shot.
- Blur them during editing if necessary.
- Ask politely if they’ll appear clearly in the background.
Being considerate builds trust and avoids conflict.
When Security or Staff Approach You
It’s common for shopping malls, cafés, museums, and private businesses to have filming policies.
If someone asks what you’re doing:
Stay calm.
Smile.
Explain honestly.
For example:
“Hi, I’m making a personal vlog with a few basic shots. Nothing commercial. Is it okay if I record here for a minute?”
Most staff appreciate polite communication.
If filming isn’t allowed, thank them and move somewhere else.
Arguing rarely helps and can create unnecessary stress.
Common Mistakes Beginners Make
Avoid these habits if you want public vlogging to feel easier:
- Waiting until you “feel confident” before starting
- Buying expensive gear too early
- Memorizing every sentence
- Recording extremely long takes
- Comparing yourself to experienced creators
- Giving up after one awkward experience
- Assuming everyone is judging you
Remember, today’s confident creators were once beginners too.
Frequently Asked Questions
Final Thoughts
Learning how to vlog in public isn’t about becoming fearless overnight. It’s about proving to yourself, one recording at a time, that you can handle a little discomfort and keep going.
Every confident creator you watch today has gone through the same learning curve. They weren’t born comfortable talking to a camera in crowded places—they became comfortable because they kept showing up.
Start small. Film consistently. Celebrate small wins. Over time, what once felt intimidating will become second nature.
The camera doesn’t need you to be perfect. It just needs you to press Record.
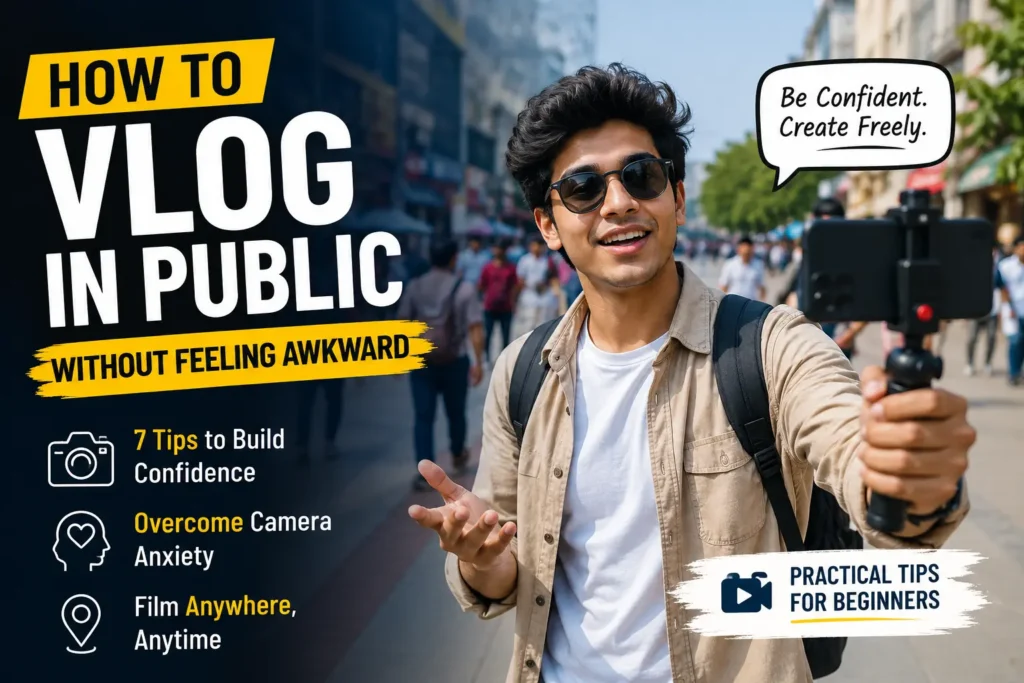
How to Vlog in Public Without Feeling Awkward: A Practical Guide for Beginners
If the thought of talking to a camera in front of strangers makes you nervous,…

How to Hold a Camera Up Without a Tripod?
Key Takeaways Use a stable grip and body posture to reduce camera shake. Control breathing…

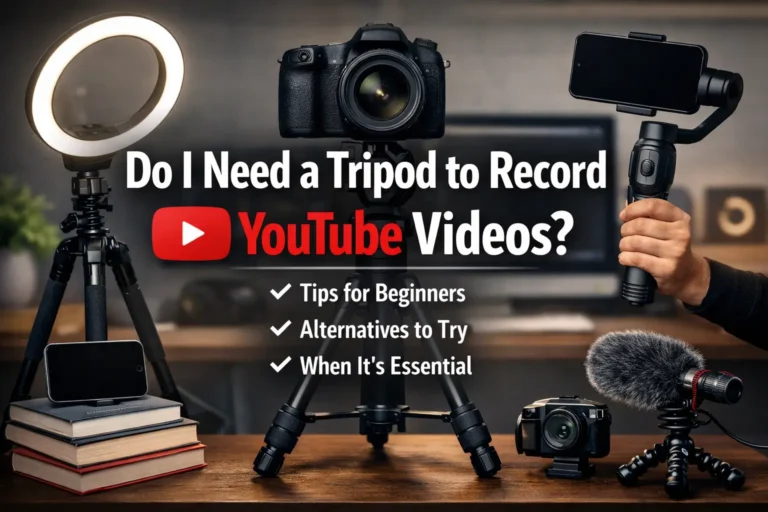
Do I Need a Tripod to Record YouTube Videos?
Summary / Key Takeaway You don’t strictly need a tripod to start recording YouTube videos….
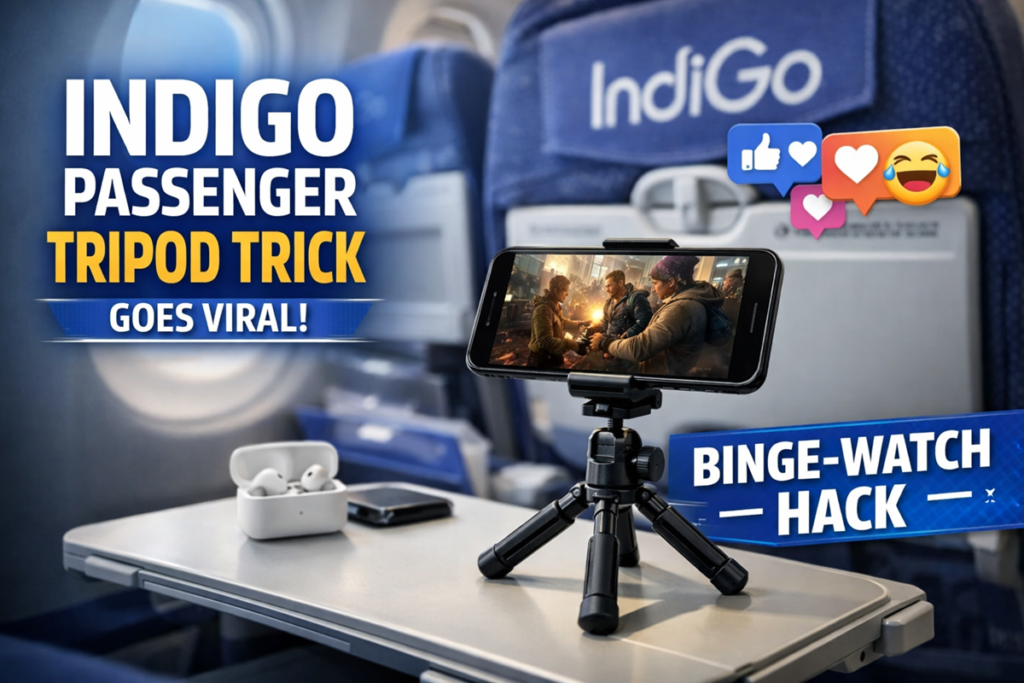
IndiGo Passenger Tripod Trick Goes Viral: A Smart In-Flight Binge-Watch Hack
Summary / Takeaway: A recent viral moment showed an IndiGo passenger using a compact tripod…

Air Quality and Focus: I Used an Air Purifier for 30 Days and My Editing Speed Almost Doubled (Productivity Test)
Quick Summary: How an Air Purifier Boosted Productivity in 30 Days Cleaner air sharpens focus…
Top 45 Vlog Ideas for When You Have No Ideas (2025 Guide for Indian Creators)
🧭 Quick Summary Feeling stuck and out of vlog ideas? Don’t worry — every creator…


